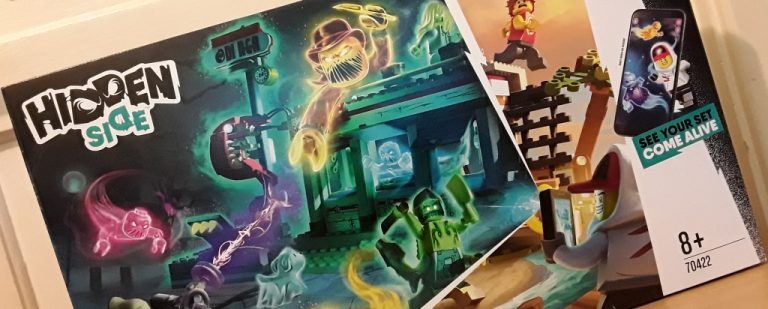
I had been meaning to build a couple of modules for the Apocalypseburg Collaborative Build for a while and despite having a few ideas, never got round to it. While looking at the recently released Hidden Side sets, I figured there would probably be some useful parts in them that would go nicely with the Apocalypseburg build. LEGO set 70422, Shrimp Shack Attack, looked to be a good contender to start things off with, as the seafood diner included isn't far off the correct dimensions. So I have written below a bit about how I built my first Apocalypseburg Collaborative Build module.
The starting point for this was to build the set following the instructions to see how it all goes together. Construction begins with two of the minifigures and a vehicle for them to chase ghosts and monsters in. I don't know what I'll do with the car yet, so I haven't applied any of the included stickers to that. Continuing with construction, the stickers on the main building really add to the weathered look and are required for the sign so most of those were added.
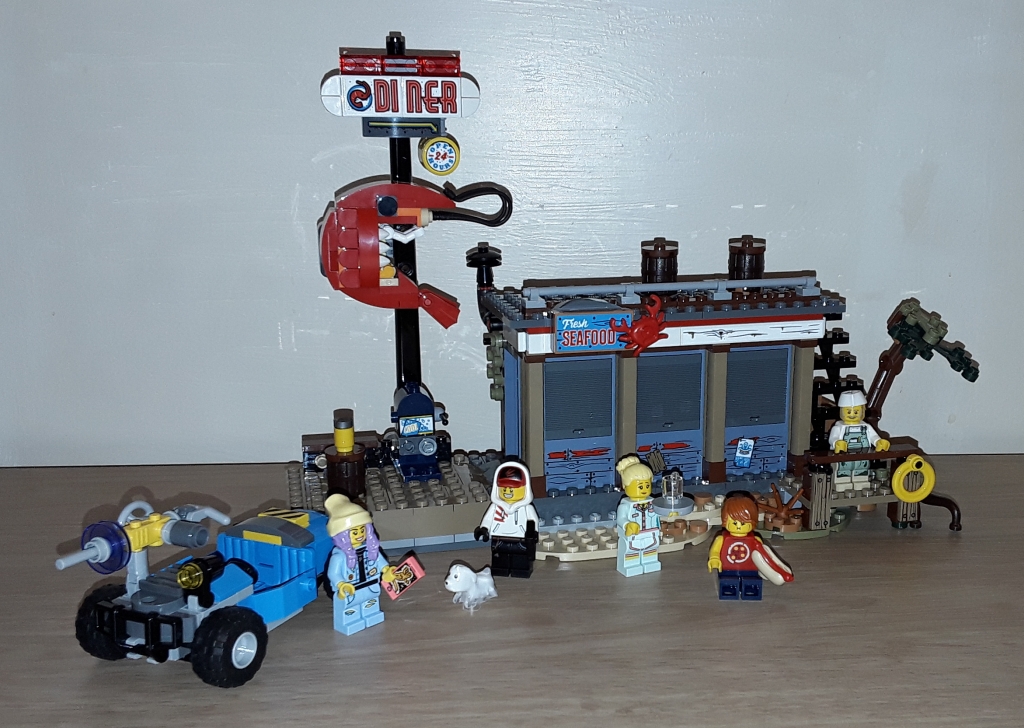
There were a few interesting build techniques and some of the play functions were kind of cool, but the main features that I was interested in were the details. The main building has plenty of interior detail which I intended transferring into the Apocalypseburg module along with the rest of the building. I also quite liked the sign, so wanted to find a way to incorporate that aswell.
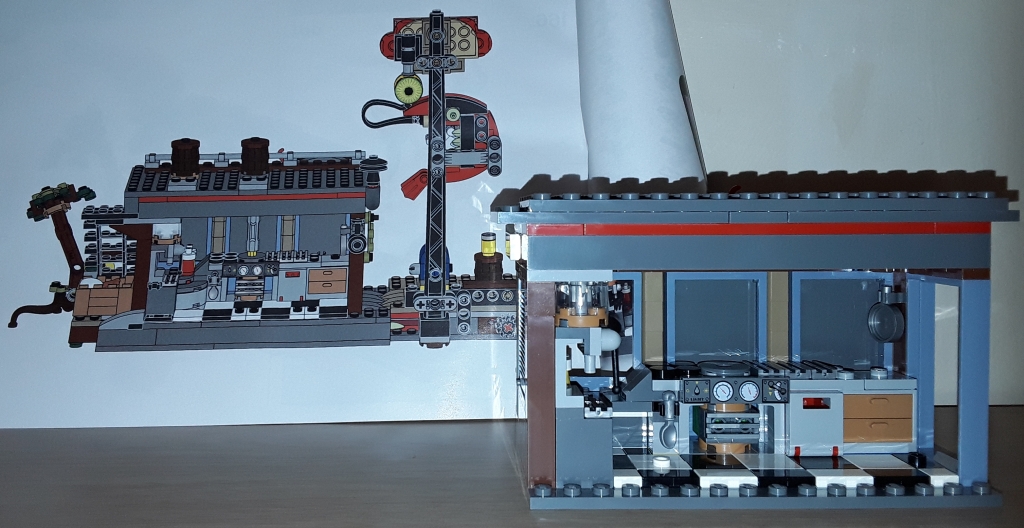
First thing was to find an 8 x 16 plate for rebuilding the diner onto. The majority of the building was transferred across as per the set design, but without the details on the roof and functional parts required for the Hidden Side app. An additional layer of plates was added to the roof to bring the height up to match the Apocalypseburg Collaborative Build standard and interior changes were as minimal as possible with just a few changes and additions where required. To complete the building, a basic wall was added to the back, which is easily removable to allow access to the interior. The photo below shows the modified interior compared to the instruction book to show how few changes were made.
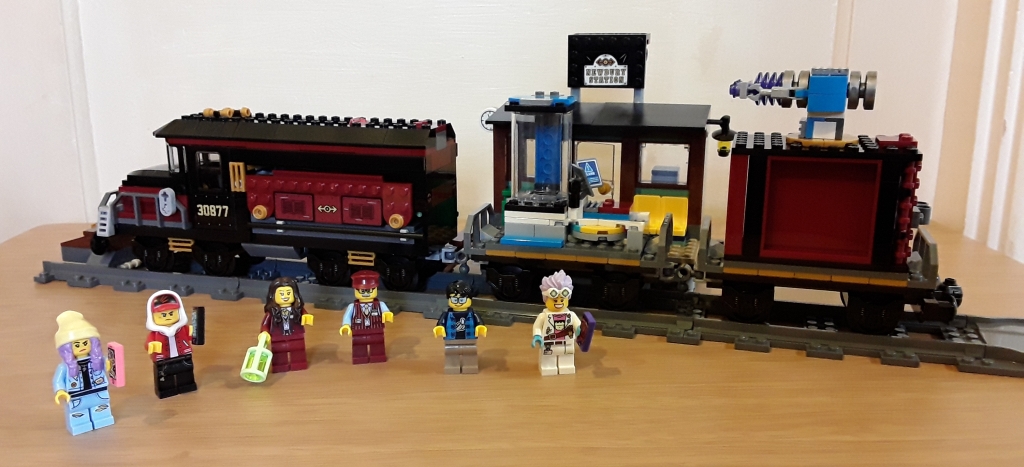
Once that was complete, I looked at how I could include the sign on a module. By adding some tan plates beneath a second module that could sit alongside the diner, the sign could be secured nearby without too much trouble. The inspiration for the second module eventually came from another Hidden Side set; 70424, Ghost Train Express. On the last wagon of the train is a basic shipping container with opening doors and it was this that I adapted for use in Apocalypseburg.
The container in the set is only 6 x 10 studs, so the first thing was to find a way of making it wider. The final dimensions of the modified container were 8 x 10 studs, allowing a space of six studs for the doorway into the diner when placed alongside. The sign itself was unchanged from the original set, however the mounting method to keep it secure was adjusted for the new location which took a bit of work to get right. A number of barrels and some of the foliage from the original set were used to disguise much of the bracket securing the sign in place. The completed modules are pictured below.

The shipping container is a little low compared to the collaborative build standards, so some kind of support will need to be added for any modules that sit above it. There were more extra parts required from my existing brick collection than originally envisioned, but it was a fun little exercise to begin my involvement with following a collaborative build standard.